
1. Introduction
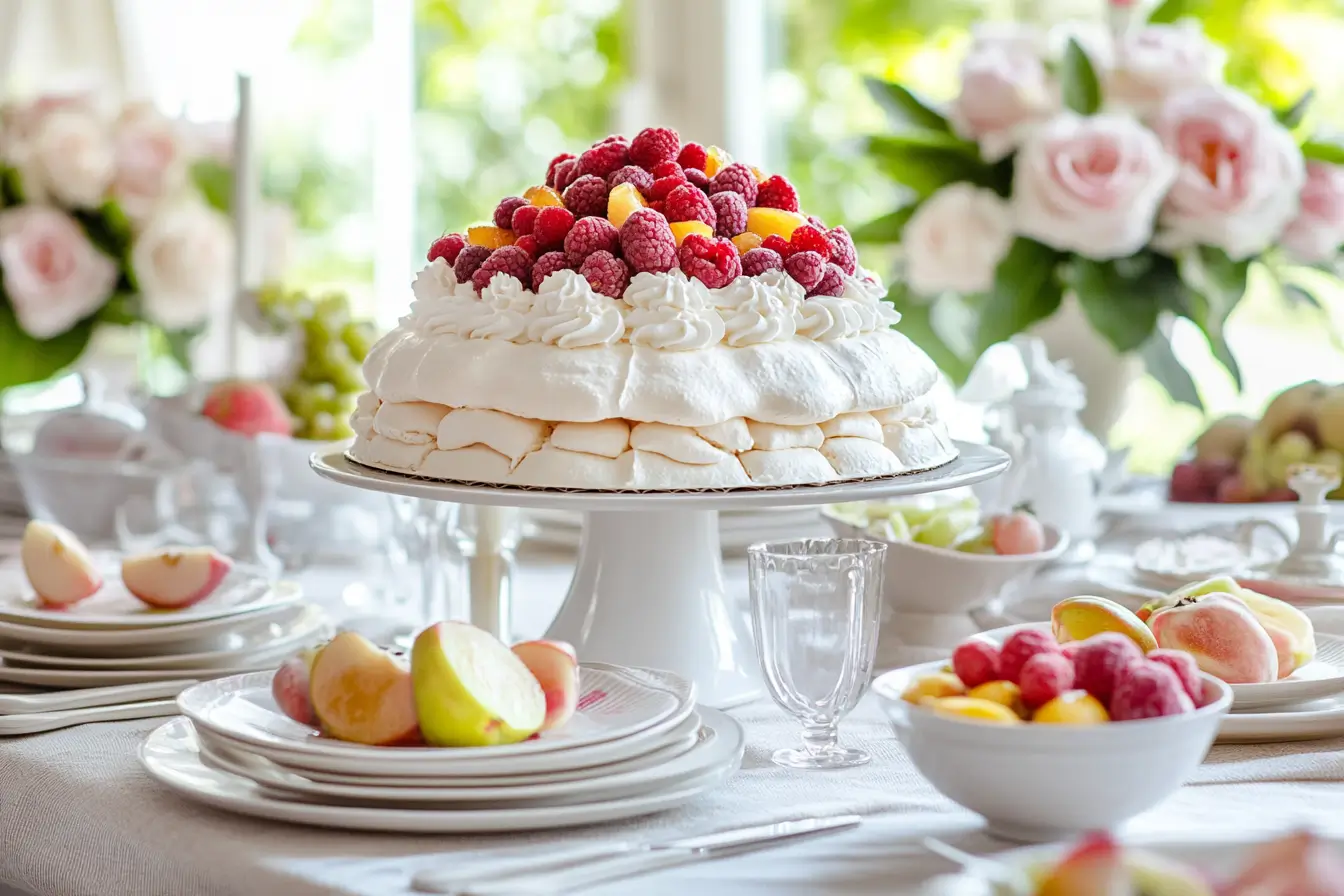
Have you ever craved a dessert that’s both light as air and decadently sweet? Meet the pavlova recipe that’s as impressive to look at as it is to eat! This pavlova recipe delivers a meringue-based dessert that is a crowd-pleaser, perfect for everything from summer picnics to elegant dinner parties. Picture a crispy outer shell giving way to a soft, marshmallow-like center, topped with billowy whipped cream and vibrant fresh fruits. Honestly, it’s like biting into a cloud with bursts of fruity goodness that dance on your taste buds.
The pavlova recipe holds a special place in the hearts of dessert lovers in Australia and New Zealand (more on that delicious rivalry soon!). It’s a go-to for special occasions and summer gatherings—nothing screams “celebration” quite like this airy confection. Plus, it’s naturally gluten-free, making it an inclusive option for guests with dietary restrictions. You’ll love how this pavlova recipe becomes the centerpiece of any table, gathering everyone around for that first, satisfying slice.
Need a showstopper that’s surprisingly simple? This homemade pavlova recipe guide will walk you through every step, ensuring that even first-time bakers can pull off this stunning dessert with confidence. And if you love eye-catching sweets, you should definitely check out this Hummingbird cake recipe that’s equally jaw-dropping and perfect alongside a pavlova at any celebration. Together, they create an irresistible dessert spread that’s bound to impress your guests.
Whether you’re baking for a special occasion or just treating yourself, this pavlova recipe offers the perfect balance of simplicity and elegance. The best part? You can top the pavlova recipe with your favorite fruits and flavors, making it as versatile as it is delicious. Ready to dive into this culinary adventure? Let’s get whisking and bring this pavlova recipe to life!
Table of Contents
2. What is Pavlova?
Ah, the pavlova recipe—a dessert with an origin story as dramatic as its presentation! Australia and New Zealand both claim to have invented this classic pavlova dessert, named after the Russian ballerina Anna Pavlova. Legend has it that the dessert’s lightness was meant to mirror her graceful performances. Whoever created it, we can all agree: they were onto something magical. This friendly rivalry between the two countries only adds to the pavlova recipe’s charm, sparking debates over whose version is better. Spoiler alert: they’re both delicious!
So, what exactly is a pavlova recipe all about? It’s an egg white dessert featuring a crispy meringue shell with a marshmallow center. The contrast of textures—crunchy exterior, gooey middle—is nothing short of divine. Add a whipped cream topping and a colorful medley of fresh fruit toppings for pavlova (think strawberries, kiwi, and passionfruit), and you’ve got a dessert that’s both stunning and satisfying. This pavlova recipe offers a combination of textures and flavors that makes every bite an experience, blending sweetness with the refreshing zing of fruit. No wonder the pavlova recipe is a must-try for dessert enthusiasts!
Why is the pavlova recipe so beloved? It’s versatile! Whether you’re hosting a summer barbecue or a festive holiday dinner, it fits right in. Plus, the pavlova recipe is naturally gluten-free, making it a worry-free choice for guests with dietary restrictions. If you’re into fruity desserts, you’ll also love these lemon blueberry cupcakes that burst with tangy flavor—another great option to complement your pavlova recipe. Incorporating a variety of flavors ensures there’s something for everyone at your table, and pairing treats like these with a pavlova recipe creates an unforgettable spread.
Fun fact: In Australia, the pavlova recipe is often enjoyed during Christmas (because hello, summer in December!), while in New Zealand, it’s a staple at birthdays and family gatherings. No matter where you are, one thing’s certain: the pavlova recipe brings people together. It’s not just a dessert; it’s a celebration on a plate. So, whether you’re making it for a special event or a casual get-together, choosing a pavlova recipe is always a good idea. Plus, experimenting with different pavlova recipe variations lets you tailor the dessert to any occasion, making it even more irresistible!
3. Ingredients Needed for the Perfect Pavlova Recipe
Ready to whip up this dreamy dessert? Gathering the right ingredients is the first step to pavlova success. Here’s what you’ll need for the best pavlova method, along with why each ingredient matters. Understanding these basics ensures your pavlova turns out perfectly every time.
Essential Ingredients:
- 4 large egg whites (about 150 ml) – Fresh but not too fresh! Eggs that are 4-5 days old whip better. Using the right eggs makes a big difference in achieving that perfect meringue texture.
- 1 cup superfine (caster) sugar – Dissolves easily; regular sugar can be pulsed in a food processor. Fine sugar ensures a smooth, glossy meringue without graininess.
- 1 teaspoon cornstarch – Stabilizes the meringue and enhances that marshmallowy texture. This ingredient is your secret weapon for the perfect center.
- 1 teaspoon white vinegar or ½ teaspoon cream of tartar – Prevents collapse and keeps the meringue firm. A little acid goes a long way in providing structural support.
- 1 teaspoon vanilla extract – Adds a subtle depth of flavor, enhancing the sweetness with a hint of warmth.
For the Toppings:
- 1 cup heavy cream – For a luscious whipped cream topping that complements the crunchy base.
- 2 tablespoons powdered sugar – Sweetens the cream just right, making it fluffy and delightful.
- Fresh fruits – Strawberries, kiwi, blueberries, passionfruit pulp… your canvas awaits! Choose seasonal fruits for the freshest flavors.
- Optional extras: Lemon curd, chocolate shavings, or a drizzle of berry sauce add extra layers of flavor and texture.
Why These Ingredients Matter:
Every ingredient plays a crucial role in creating the perfect pavlova. Egg whites provide the structure, while sugar stabilizes the foam and creates that signature glossy finish. Without the cornstarch, you’d miss out on that heavenly soft center. The acid (vinegar or cream of tartar) helps the egg whites hold their shape, making sure your pavlova stands tall and proud. Finally, vanilla extract adds a touch of aromatic warmth that balances the sweetness.
Curious about sugar swaps? You can use superfine coconut sugar for a caramelized twist, but note it might darken the pavlova slightly. If you’re watching your sugar intake, some people experiment with erythritol blends, though the texture may vary.
Need more sweet inspiration? These baked apple fritters offer a cozy, warm contrast to the cool, airy pavlova—perfect for a dessert spread that caters to all cravings. Combining desserts ensures there’s something for everyone, making your gathering unforgettable.
4. Tools and Equipment Required
Before you dive into this easy pavlova instruction, having the right tools on hand is essential. Using the proper equipment ensures your meringue whips to perfection and your pavlova bakes evenly. Plus, it makes the whole process smoother and more enjoyable.
Must-Have Equipment:
- Electric mixer (stand or hand-held) – Unless you fancy a serious arm workout, this is non-negotiable. Beating egg whites to stiff peaks by hand is possible but definitely a labor of love.
- Mixing bowls – Metal or glass works best; plastic can hold grease (a meringue enemy!). Even the tiniest bit of grease can prevent your egg whites from whipping properly, so cleanliness is key.
- Measuring cups and spoons – Precision is everything in baking; eyeballing ingredients isn’t your friend here.
- Rubber spatula – Perfect for folding in ingredients gently without deflating the meringue.
- Baking sheet – Lined with parchment paper or a silicone mat (no greasing needed) to prevent sticking.
- Offset spatula – Handy for shaping your pavlova into that signature dome shape.
- Cooling rack – Ensures even cooling post-bake, keeping your pavlova crisp on the outside and soft inside.
Why the Right Tools Matter:
Grease or water in your bowls? Your egg whites won’t whip. Plastic bowls often retain hidden grease, so opt for glass or metal. Pro tip: Wipe your bowl with a little vinegar before starting to ensure it’s squeaky clean. This simple step can make all the difference in achieving those perfect peaks.
Using parchment paper is crucial. Not only does it prevent sticking, but you can also draw a circle on the underside to guide your pavlova shape. This helps create a uniform size, ensuring even baking.
For more meringue-friendly treats, check out these vanilla wafer cookies—they’re crunchy, delightful, and pair wonderfully with pavlova for a dessert platter that caters to different textures. Offering a variety of options ensures everyone finds something to love.
5. Step-by-Step Instructions to Make the Pavlova
Creating a pavlova might seem intimidating, but with these clear steps, you’ll be baking like a pro. Each stage is crucial, so take your time and enjoy the process—it’s part of the fun!
5.1 Preparing the Meringue Base
Start by separating your egg whites from the yolks. It’s easier to do this when the eggs are cold, but let the whites come to room temperature before beating for maximum volume. Got a bit of yolk in there? No sweat—use an eggshell piece to scoop it out. (Trust me, it works better than a spoon!)
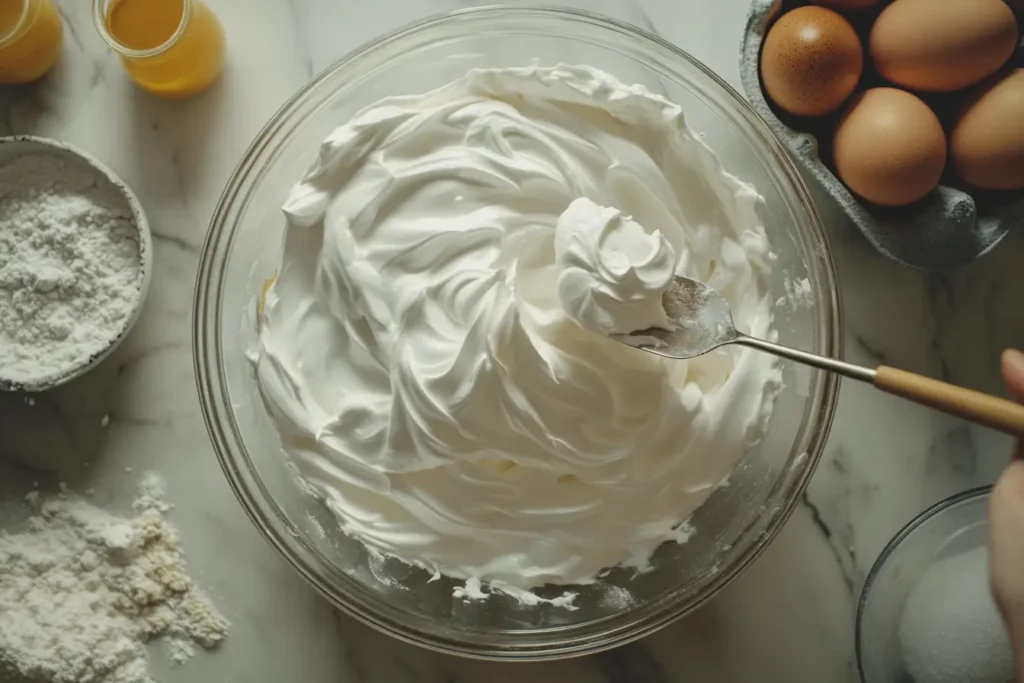
Using your electric mixer, beat the egg whites on medium speed until soft peaks form. You’re aiming for peaks that hold their shape but still droop slightly at the tip—like soft-serve ice cream. Don’t rush this step; patience pays off.
Once you’ve got soft peaks, start adding the sugar—one tablespoon at a time. Slowly incorporating the sugar ensures it dissolves fully, giving you that glossy, stiff meringue. If you add it too quickly, you’ll end up with a gritty texture. Keep beating until you can lift the whisk, turn it upside down, and those peaks stay put. Glossy and stiff? You’re golden!
5.2 Shaping and Baking the Pavlova
Preheat your oven to 170°C (340°F). Once your meringue is ready, line a baking sheet with parchment paper. Spoon the meringue into a mound about 20 cm (8 inches) wide. Using an offset spatula, smooth the sides and create a shallow well in the center—this is where your toppings will sit later.
Place the pavlova in the oven and immediately reduce the temperature to 100°C (210°F). The initial blast of heat helps set the structure, while the lower temperature allows it to bake through without browning too much. Bake for 1.5 hours without opening the oven. It’s tempting to peek, but don’t—sudden temperature changes can cause cracks.
If you’re in a hurry, consider making mini pavlovas. These bake faster (35-40 minutes) and are perfect for individual servings. Plus, they’re adorable and fun for guests to decorate themselves!
5.3 Cooling Techniques
Once baking is complete, turn off the oven but leave the pavlova inside to cool. Prop the oven door open slightly with a wooden spoon and let it cool for several hours or overnight. This gradual cooling process prevents sudden temperature changes that can lead to cracking or collapsing.
High humidity can be a challenge—if you’re baking on a humid day, smaller pavlovas tend to hold up better. And if cracks do happen? No worries! That whipped cream topping is like a magical repair kit.
Feeling inspired? Pair your pavlova with these strawberry pina colada smoothies for a refreshing twist that complements the dessert’s light, airy texture. Offering a combination of desserts ensures there’s something refreshing to balance the sweetness.
10. Pavlova Variations You’ll Love
While the classic pavlova is already a crowd-pleaser, exploring variations can bring new flavors and fun to your dessert repertoire. Whether you’re making mini versions for a party or experimenting with different toppings, there are endless ways to customize this delightful treat. Trying new twists keeps things exciting and ensures there’s always something fresh to serve at your gatherings.
Mini Pavlova Recipe:
Mini pavlovas are perfect for individual servings and are a hit at parties. They bake quicker, making them ideal when you’re short on time but still want to impress. To make them, simply spoon smaller mounds of meringue (about 10 cm/4 inches wide) onto your baking sheet. Bake at 100°C (210°F) for 35-40 minutes, then cool in the oven just like the larger version.
Why mini pavlovas are great:
- Guests can customize their own with various toppings.
- Faster baking time means less waiting (and more eating!).
- They look adorable on dessert platters.
Consider setting up a pavlova bar at your next party with toppings like fresh fruits, lemon curd, chocolate shavings, and nuts. Guests will love the interactive element! If you’re looking for another crowd-friendly treat, these moon cookies pair wonderfully with mini pavlovas, adding variety to your dessert spread.
Gluten-Free Pavlova Recipe:
Good news—pavlova is naturally gluten-free! Just double-check that your toppings and any added ingredients (like store-bought lemon curd) don’t contain hidden gluten. For a fresh and tangy variation, spread a layer of lemon curd beneath the whipped cream, then top with fresh berries. The balance of sweet, tart, and creamy is absolutely irresistible.
Pavlova with Lemon Curd and Tropical Fruits:
Want a pavlova that screams “vacation on a plate”? Start with a base layer of lemon curd, then pile on tropical fruits like mango, pineapple, and passionfruit pulp. The zing of the lemon complements the sweetness of the meringue and the brightness of the fruit. It’s perfect for summer parties or when you need a burst of sunshine during colder months.
Tropical topping ideas:
- Fresh mango slices
- Passionfruit seeds and pulp
- Kiwi rounds for a pop of green
- Toasted coconut flakes for extra texture
If you’re hosting a summer get-together, pairing your pavlova with this strawberry pina colada smoothie creates a refreshing, fruity combo your guests will rave about.
Holiday Pavlova Ideas:
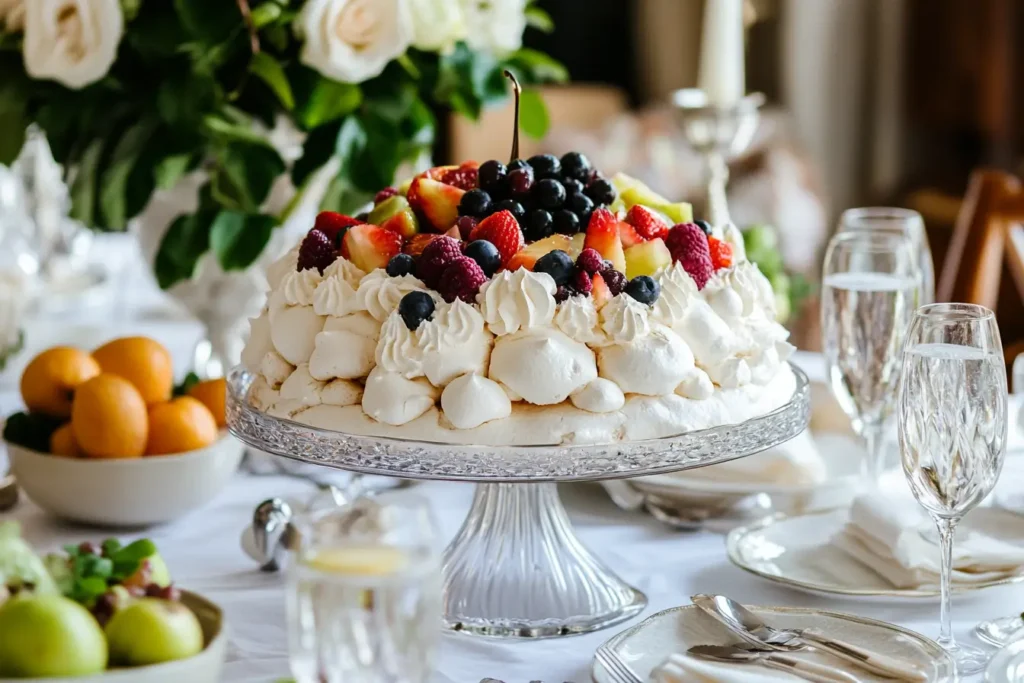
Pavlova isn’t just a summer dessert—it shines at holiday tables, too. Shape your meringue into a wreath and top with red berries and mint leaves for a festive Christmas presentation. For Easter, use pastel-colored candies and fresh spring fruits. And for birthdays, why not add colorful sprinkles or edible flowers for a fun touch?
Trying different shapes and presentations keeps things fresh. Guests love the visual appeal of a creatively decorated pavlova—and you’ll love the compliments!
11. Serving Suggestions for Pavlova
You’ve baked, topped, and decorated—now it’s time to serve! How you present and pair your pavlova can elevate the entire dessert experience. After all, we eat with our eyes first, so let’s make it irresistible from every angle.
Perfect Pairings:
Pavlova’s sweetness and airy texture pair beautifully with a variety of beverages and treats. Consider serving it with:
- Coffee or espresso: The bitterness of coffee balances the sweetness perfectly.
- Herbal teas: A chamomile or mint tea complements the lightness of the dessert.
- Refreshing drinks: This strawberry pina colada smoothie adds a fruity, refreshing element that enhances the pavlova’s tropical notes.
Dessert Board Ideas:
Create a stunning dessert platter by pairing pavlova slices with:
- Mini desserts: Include lemon blueberry cupcakes for a burst of tangy flavor alongside the pavlova.
- Fruit platters: Fresh fruit not only complements the pavlova but also offers a lighter option for guests.
- Cookies and brownies: These fudgy cake crumb brownies bring a rich, chocolatey contrast that balances the airy meringue.
Presentation Tips:
- Use a cake stand to highlight the pavlova’s beauty.
- Add garnishes like mint leaves or edible flowers for an extra touch of elegance.
- Drizzle plates with berry coulis or caramel sauce before placing slices for a restaurant-quality look.
Serving pavlova is about more than just slicing and plating—it’s about creating an experience. Whether you keep it simple or go all out with accompaniments, your guests will appreciate the thoughtfulness.
12. Make-Ahead and Storage Tips
Planning ahead? Great news: you can prepare parts of your pavlova in advance, making it less stressful on the day of your event. This ensures you enjoy time with guests instead of rushing around the kitchen.
How to Prepare in Advance:
- Meringue base: Make up to two days ahead. Once cooled, store in an airtight container at room temperature. Keep it away from humidity to maintain the crisp shell.
- Whipped cream and toppings: Whip the cream and prepare fruits a few hours before serving, but store them separately until you’re ready to assemble.
- Fully assembled pavlova: Ideally, top your pavlova just before serving. However, if you need to assemble earlier, do so no more than an hour ahead to prevent sogginess.
Storage Tips:
- Leftovers: Pavlova is best fresh, but leftovers can be stored in the fridge for up to a day. The meringue will soften, but it’ll still taste delicious.
- Avoid freezing: Freezing the meringue base can lead to a chewy, deflated texture—definitely not what you want!
- Humidity caution: If it’s a humid day, store the base in an airtight container with a packet of silica gel (kept separate from the pavlova) to absorb moisture.
Planning a dessert spread? Pair your pavlova with these sweet treats galore desserts snacks to ensure your guests have plenty of options. Having a variety of desserts caters to different tastes and dietary needs.
13. Pavlova for Special Occasions
Pavlova isn’t just a dessert—it’s a celebration in itself! Its versatility makes it perfect for a wide range of occasions, from casual summer gatherings to elegant holiday feasts. With the right presentation, it becomes the centerpiece of any table.
Occasion Ideas:
- Birthdays: Personalize with the recipient’s favorite fruits and add colorful sprinkles or edible glitter for a festive touch.
- Christmas: Shape your pavlova into a wreath, decorate with red berries and mint leaves, and dust with powdered sugar for a snowy effect.
- Valentine’s Day: Heart-shaped mini pavlovas topped with strawberries and dark chocolate drizzle are sure to impress your sweetheart.
- Summer parties: Tropical fruits like mango, pineapple, and passionfruit make pavlova the ultimate summer dessert.
Looking to create a complete feast? These cranberry Thanksgiving phyllo goat cheese bites offer a delightful savory option to complement your sweet pavlova. Guests will love the balance of flavors, making your gathering truly memorable.
No matter the occasion, pavlova’s combination of lightness and sweetness ensures it’s a hit. Plus, its customizable nature allows you to tailor it to any theme or season.
14. Frequently Asked Questions (FAQs)
1. What are the secrets of pavlova?
The secrets to a perfect pavlova lie in a few key details. Use fresh but slightly aged egg whites (4-5 days old) for better volume, and ensure your mixing bowl is completely clean and grease-free—a quick vinegar wipe works wonders. Add superfine sugar slowly to avoid a grainy texture, and always beat until the meringue is glossy with stiff peaks. Using cornstarch and an acid (like vinegar or cream of tartar) helps stabilize the meringue and creates that marshmallow-like center. Lastly, cool your pavlova in the oven with the door slightly open to prevent cracks. And if cracks appear? Just cover them with whipped cream and fruit—problem solved!
2. Is it OK to make pavlova the day before?
Yes, you can make the pavlova base a day ahead. Store it in an airtight container at room temperature to keep the shell crispy. Avoid the fridge—humidity softens the meringue. Prepare the whipped cream and fruit toppings on the day you serve it. Assemble just before serving to maintain the perfect texture.
3. What is the difference between a meringue and a pavlova?
Both are made from egg whites and sugar, but they differ in texture. Meringue is crisp throughout, often used for cookies or pie toppings. Pavlova has a crisp exterior with a soft, marshmallow-like center, achieved by adding cornstarch and an acid. Pavlova is typically topped with whipped cream and fresh fruit, making it a complete dessert, whereas meringue is usually just a component.
4. What are the main ingredients in a pavlova?
Pavlova uses simple ingredients:
Egg whites: Create structure.
Superfine sugar: Provides stability and sweetness.
Cornstarch: Ensures a soft center.
Vinegar or cream of tartar: Stabilizes the meringue.
Vanilla extract (optional): Adds flavor.
For toppings, use whipped cream and fresh fruits like berries, kiwi, or passionfruit. Simple yet impressive!
15. Conclusion
There you have it—a pavlova recipe that’s approachable, stunning, and sure to impress! With its crispy meringue shell, soft marshmallowy center, and vibrant toppings, this pavlova recipe is the ultimate crowd-pleaser. Whether you’re celebrating a special occasion or just indulging in a weekend baking project, the pavlova recipe brings joy and excitement to the table, making every moment feel a little more special.
Don’t be intimidated by its fancy appearance—the pavlova recipe is surprisingly simple to make with the right tips and a little patience. Even if cracks or imperfections occur, remember that whipped cream and fruits are your best friends, turning any mishaps into beautiful, delicious creations. Plus, the versatility of toppings means you can customize your pavlova recipe to suit any season or taste preference. From tangy citrus in the winter to fresh berries in the summer, there’s no limit to how you can make this dessert your own.
So why not make the pavlova recipe part of your next celebration? Explore different pavlova recipe variations, experiment with new flavors, and most importantly—have fun with it! Trying new toppings or shaping your pavlova recipe into a wreath for the holidays adds an extra layer of excitement. And if you’re looking for more irresistible desserts to pair with your pavlova recipe, explore our sweet treats galore desserts snacks to find the perfect accompaniments for your masterpiece. Combining desserts ensures there’s something for everyone, creating an unforgettable dessert spread that will have guests raving.
Happy baking! Don’t forget to share your pavlova recipe creations with friends and family—after all, good food is meant to be enjoyed together. Plus, seeing their reactions when you slice into that crispy shell with the soft, gooey center inside is a reward in itself!
Print10 Easy Steps to Make the Perfect Pavlova Recipe with a Crispy Shell and Soft Center
- Total Time: 1 hour 50 minutes
- Yield: 8–10 servings 1x
- Diet: Gluten Free
Description
This pavlova recipe features a crispy meringue shell with a soft, marshmallow-like center, topped with fluffy whipped cream and fresh fruits. Perfect for special occasions or a delightful weekend treat, it’s naturally gluten-free and surprisingly simple to make.
Ingredients
- 4 large egg whites (at room temperature)
- 1 cup superfine (caster) sugar
- 1 teaspoon cornstarch
- 1 teaspoon white vinegar or ½ teaspoon cream of tartar
- 1 teaspoon vanilla extract (optional)
For the toppings:
- 1 cup heavy cream (for whipping)
- 2 tablespoons powdered sugar
- Fresh fruit: strawberries, kiwi, passionfruit, or berries of choice
Instructions
- Preheat oven to 170°C (340°F). Line a baking sheet with parchment paper.
- In a clean, grease-free bowl, beat egg whites until soft peaks form.
- Gradually add sugar, one tablespoon at a time, beating until glossy, stiff peaks form.
- Gently fold in cornstarch, vinegar, and vanilla extract.
- Spoon the meringue onto the baking sheet, shaping it into a round with a slight well in the center.
- Reduce oven temperature to 100°C (210°F) and bake for 1.5 hours.
- Turn off oven and let the pavlova cool completely inside with the door slightly ajar.
- Whip cream with powdered sugar until soft peaks form.
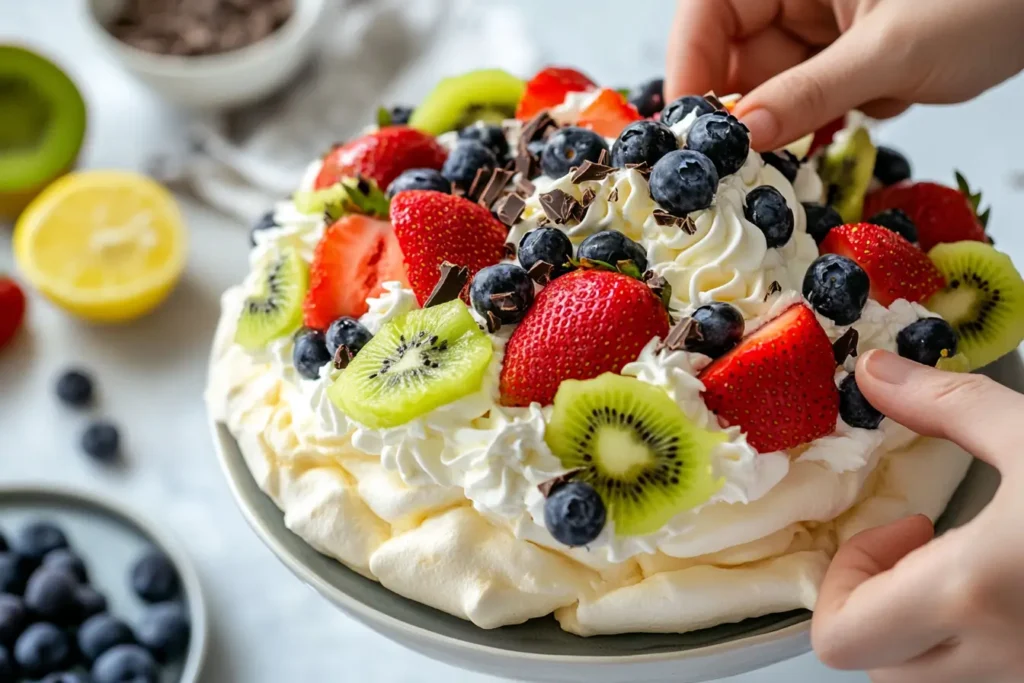
- Top cooled pavlova with whipped cream and arrange fresh fruits over the top. Serve immediately.
Notes
- Make sure no yolk gets into the egg whites for proper whipping.
- Gradually adding sugar prevents a grainy meringue.
- Cool pavlova slowly in the oven to prevent cracks.
- Assemble just before serving to avoid a soggy base.
- Prep Time: 20 minutes
- Cook Time: : 1 hour 30 minutes
- Category: Dessert
- Method: Baking
- Cuisine: Australian, New Zealand
Nutrition
- Serving Size: 1 slice (of 8)
- Calories: 186 kcal
- Sugar: 25 g
- Sodium: 34 mg
- Fat: 9 g
- Saturated Fat: 6 g
- Unsaturated Fat: 2g
- Trans Fat: 0g
- Carbohydrates: 28g
- Fiber: 1g
- Protein: 2g
- Cholesterol: 27 mg
Keywords: pavlova recipe, classic pavlova dessert, meringue-based dessert, pavlova with fruit, gluten-free dessert, summer dessert recipes, holiday pavlova ideas